Showing posts with label techniques. Show all posts

Wednesday, March 2, 2011

Adding a French manicure or pedicure to your doll.

This technique works well with resin BJDs or vinyl dolls--I've done both. It's more permanent on vinyl, when you seal, so just be careful that you like the effect first. You'll want to start with a clean, blushed (if applicable) and sealed (with Mr Superclear, if she's resin) doll.

Supplies:
  • Sharpened water color pencils (white, maybe pink or nude also)
  • Very fine brush (#1)
  • Liquitex gloss medium or Tamiya X-22 gloss
Technique:
  1. If the doll is very small, you'll only need the white pencil. For larger dolls, you may need or want an additional shade.
  2. Drag the side of the white pencil along the edge of the toenail for the perfect moon shape. To add more dimension on larger toes, you can add a tiny bit of pink or nude to the base of the nail.
  3. For the hands, repeat the process. Use the sculpt of the hands and nails as your guide. Wipe off any excess with a paper towel. Remember, this is a watercolor pencil, so it will all wipe clean with water at this point. Add pink or nude to the base of the nail for larger hands, if desired.
  4. When you're happy with your results, seal them with a thin coat (on the nails only) with the gloss medium. Wipe off the tip of the brush if you need to, first, so you don't drip on the rest of the doll's hands or feet.
  5. Let dry. Vinyl usually takes longer to dry than resin, so don't rush.
Click on the photos to enlarge.
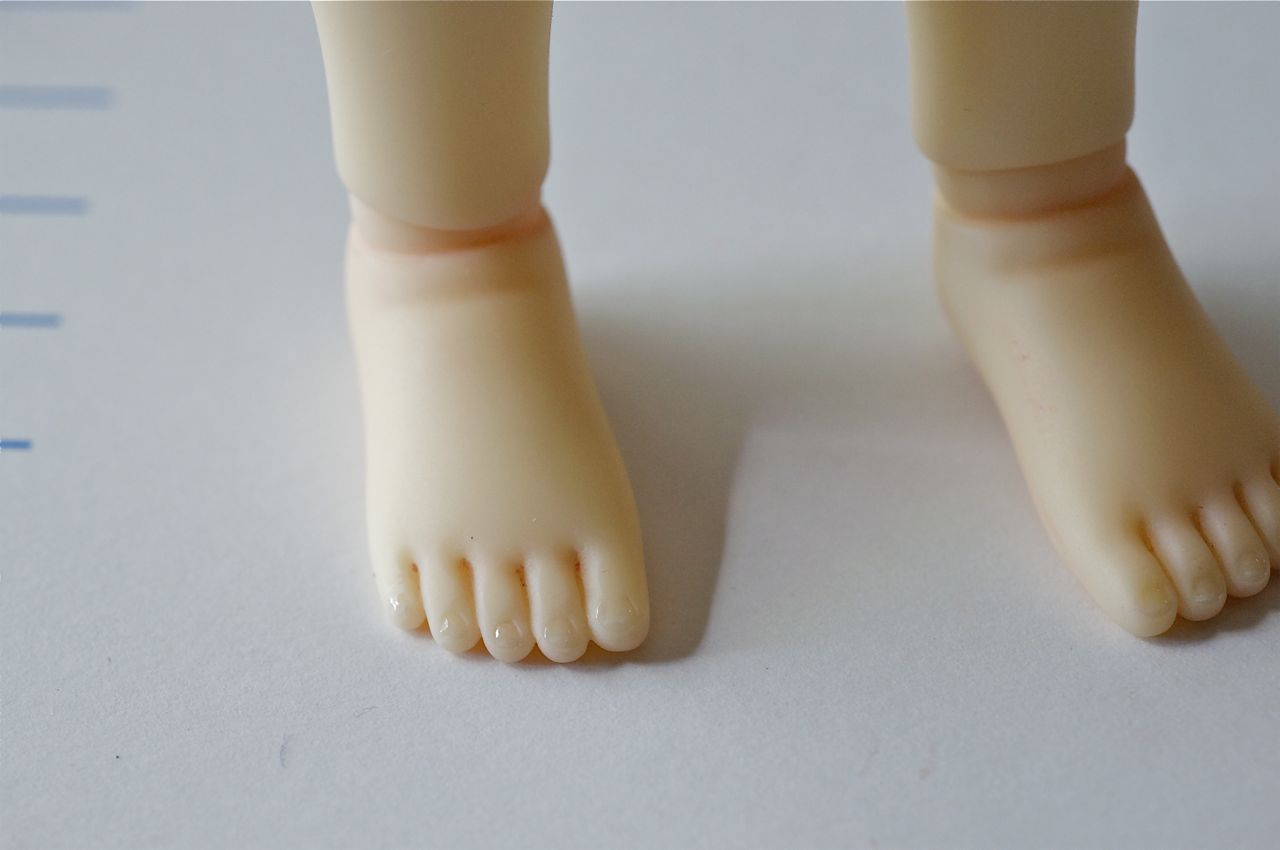
Clean, blushed feet, before the pedicure.
Clean, blushed hand, before the manicure.
Result of dragging the pencil across the left toenails.
Closer view of toes.

Fingers before adding Liquitex gloss.
Small brush with Liquitex sealer.
Finished toes, sealed.
Finished fingers, sealed.

Tuesday, February 15, 2011

BJD techniques made easy: sanding seam lines


Sky's hand, before sanding, originally uploaded by alington.
Some Asian BJDs come without their seam lines sanded. The first time I noticed a seam line on my doll, embarrassingly, I thought it was a crack, and I panicked.

Don't panic. Seam lines, or parting lines, are simply the lines between the top and bottom of the molds used to pour the resin, and are a normal part of making BJDs. Some companies give you the option of sanding seam lines. But if yours doesn't, you can follow these easy steps to sand your doll.

An important note before we start: If your doll is a tan or dyed resin, you will want to leave the seam lines alone. Many times, the colored resin used for BJDs is either tinted unevenly, or your doll might be dipped (so your sanding will leave marks). Either way, I don't recommend sanding dolls that are darker toned resin.

Supplies:
  • Wet wash cloth
  • Bowl of water
  • Dry lap towel
  • Face mask
  • Jewelry grade sanding paper, 220, 440 and possibly 600 grit
  • Mr Superclear UV Cut (optional)

BJD techniques made easy: body blushing

I love the realistic look of BJDs. Adding a body blush enhances a doll’s body sculpt and is an easy way to customize your doll and make her your own. The technique is straightforward: add several shades of pastels to the valleys of the body and blend.

Supplies:
  • A resin sealer. I prefer Mr. Superclear for larger dolls. You can also use Testor’s DullCoat, but this attracts dirt pretty easily, and I prefer this for smaller surfaces (face-ups and smaller dolls).
  • Chalk pastels. Most will do, but I don’t recommend square scrapbooking chalks. These are flaky and don’t blend well.
  • Several brushes. I use a large round brush (size 6) and a small angled brush (size 1/8).
  • Magic Eraser

Restringing tutorial, part II: the body

After reading the first part of my restringing tutorial on the torso, you should have recovered enough to restring the rest of your doll. (Please read that tutorial first.) There are lots of ways to restring a doll, and you can do it correctly many different ways. The way I will show you allows you to adjust the elastic cord tension after your doll is strung, if needed.

Supply list:
  • Elastic cord
  • Hemostats, at least one pair
  • Chopsticks or two unsharpened pencils
  • Stringing tool (available from Kemper Dolls for about $3) or pipe cleaner
  • Glass of wine, or legally prescribed sedative, if needed
You should already have the restrung torso of the doll (with arms and hands attached). Make sure you have the legs in the right order and ready to go--be sure all the pieces fit together perfectly, and are on the proper sides of the doll before you start.


How to suede your ball-jointed doll

Does your new ball-jointed beauty kick you or fall over when she should be posing? Sueding might fix your problems! It adds friction between the ball and socket to give your doll a little more stability and control when she stands and poses.

I learned this no-burn method from Pam of DollLovely at the San Diego BJD Convention in December last year.

Supplies:
  • Sharp scissors 
  • Dr. Scholl’s Moleskin Plus (self-adhesive microsuede available at Target)

Monday, February 14, 2011

Restringing tutorial, part I: the torso


The perfect hand!, originally uploaded by alington.
This is the first in a series of two parts on how to restring your BJD. Every BJD owner needs to know how and be comfortable with restringing. It can be intimidating at first; but if you have the right tools, and some good instructions, you'll be able to do it on your own--even the first time. My model is a Jollyplus Jise.

Supplies. Click to enlarge.
Supply list:
  • Elastic cord (1/4" or a little thinner - I buy mine in 10 yard lengths from Kemper DollsMint on Card also carries elastic and S-hooks, and their shipping is much better than bulk orders from Kemper.)
  • Hemostats, at least one pair
  • Chopsticks
  • Stringing tool or pipe cleaner (if needed)
  • Glass of wine, legally prescribed Xanax or Valium (if needed--and I'm only partly kidding)
Start with an unstrung doll. It's wise to label the parts--or make sure you can identify the left and right pieces--so you don't have to restring the doll more than once. You can label each piece with a small L or R to identify them before unstringing the doll.

Sunday, January 30, 2011

BJD tip of the day: How to de-yellow resin


Resin, before and after, originally uploaded by alington.
About the above photo: Jolly Plus Jise (SD size Asian ball-jointed doll, I'm at least the third owner). The top arm, before its cleansing treatment. The bottom arm, after its treatment. Notice how the wrist ball joint is really normal-looking, even before treatment, as it is rarely exposed to light.

Resin yellows naturally, as it's exposed to light. It's just a part of the deal with ball-jointed dolls made of resin. Your brand new BJD will yellow--some more evenly than others--no matter what you do to prevent it. When you buy dolls from the secondary market, you might end up with a very even, very yellow doll, and not even realize what the doll's color was originally. This tutorial can help you use household supplies safely to get your doll back to normal.

LinkWithin

Related Posts Plugin for WordPress, Blogger...