
2 ladies crew socks or 1 ladies knee sock (I recommend pre-washing socks to set colors and pre-shrink the fabric before sewing)
Pattern (scaled from the image included at the end of this post)

Scissors
Pins
Needle and thread

A note about sewing by hand: I do all of the sewing on this cardigan by hand because: a) the socks are so stretchy that my sewing machine tends to stretch the seams way out of shape, and b) I like to have a “portable” project on the go, to take with me when I know I’ll be waiting somewhere for a while. Using a doubled-up thread for added strength, I sew in kind of a back and forth pattern. Picture your seam-line with markings every 1/8” or so that are lettered A, B, C, D, etc. I insert the needle at A and bring it back up at C, then back down through B and up at D, then back down at C and up at E, etc. I leave about 1/8” seam allowance on all seams.
Instructions:
 |
| Pattern layout for 1 knee sock |
 |
| Pattern layout for 2 crew socks |
1. Lay pattern pieces on socks and pin, ensuring that the hem
of sleeve pieces lay along the sock opening. Cut around each piece, making sure
NOT to cut up the center front of the back piece that is marked “cut on fold.”
(If you use 2 crew socks, you will be able to pin the knee-high pattern along
the other sock opening, which will become the top opening of the knee-highs,
also.)

3. Fold each sleeve piece in half lengthwise to find the center
of the curved sleeve cap and mark with a pin.

 |
| Sleeve pinned to cardigan body from the other side |
 |
| Sleeve pinned to cardigan body |

5. With right sides together, pin and sew the underarm seam, which includes sewing the back to the front pieces along the side seam and sewing the sleeves closed along the length of the sleeve.
6. Turn the cardigan right side out (it should finally be looking like a cardigan at this point!).

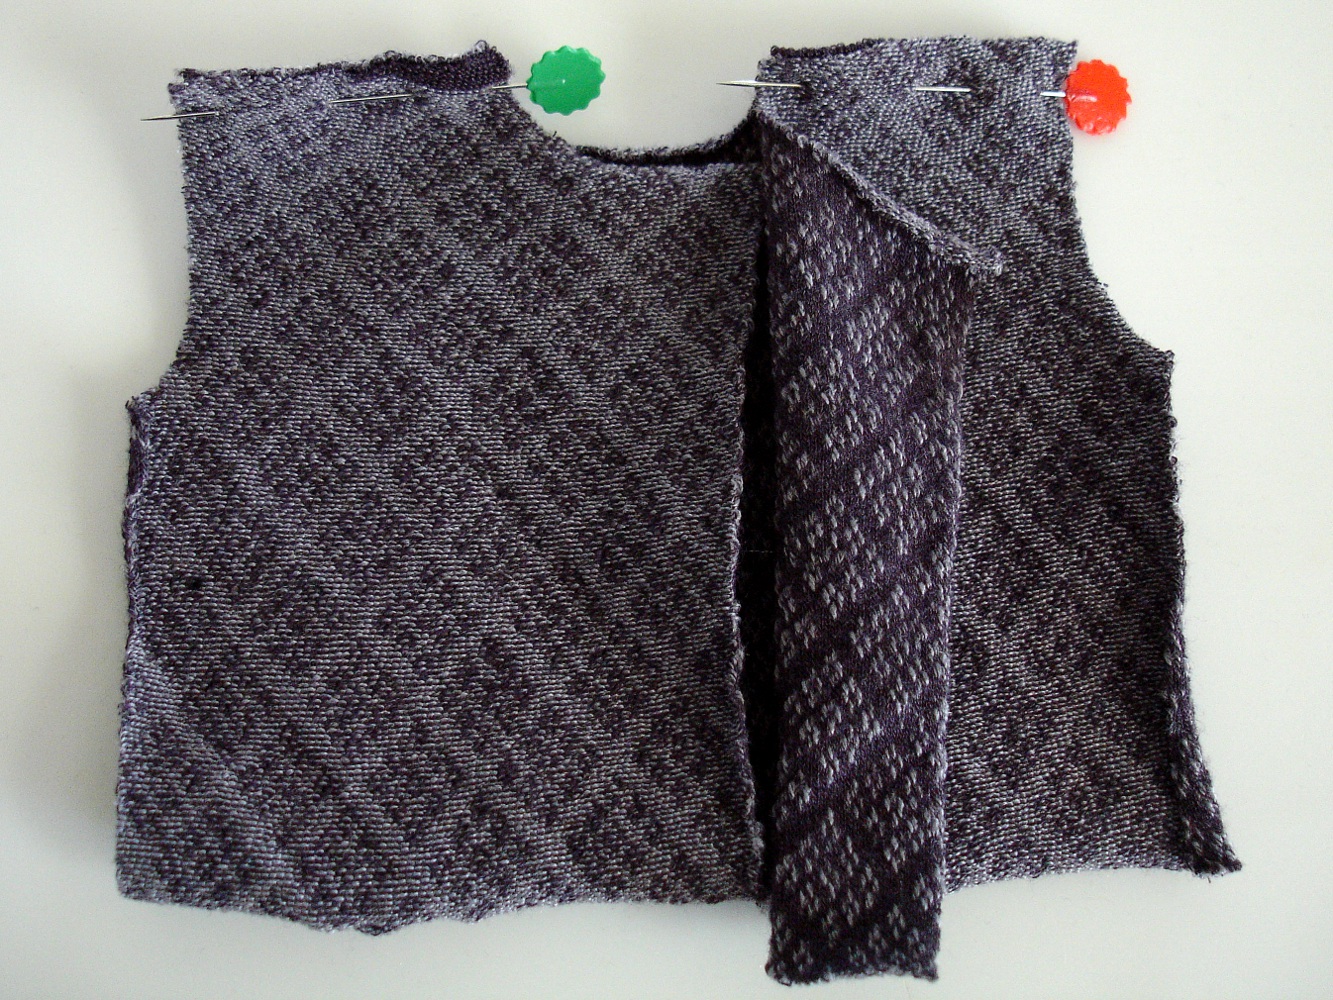
7. Along the neck opening, fold the edge over about 3/8” and pin, then whipstitch to the body of the sweater. Do the same along the bottom edge of the cardigan.

8. Down the front of each side of the cardigan, fold the edge over about 3/8” and pin, then whipstitch to the body of the cardigan.

9. If you like, add a closure to the front and any embellishments. Cardigan finished!

10. If you cut out the knee-high pieces, fold each one in half lengthwise, then pin and sew along the raw edge. Turn inside out and you have 2 knee-highs!
 |
| Scale this pattern to match the 1 inch marking |
Very nice tutorial, Jen! It looks like something even I could do!
ReplyDeleteGreat tutorial! The pictures you have really help you to understand the process. I will have to try this. It is sweater time you know!
ReplyDeleteGlad to hear it looks do-able - because it really is!
ReplyDelete